
Installing WordPress might sound technical, but with most modern web hosts, it’s a 1-click setup. Let’s go through exactly how to install WordPress — whether you chose Hostinger, Bluehost, or SiteGround.
Steps
✅ By the end of this guide, your WordPress website will be live and ready to customize!
⸻
3.1 – What You’ll Need Before Installation
Before you start, make sure:
• You’ve purchased hosting (see Step 2 if not)
• Your domain is connected (clear guidelines on dashboards for Hostinger/Bluehost users)
• You have access to your hosting dashboard (hPanel, cPanel, or Site Tools)
3.2.1 – How to Install WordPress on Hostinger
Hostinger makes this super easy with its Managed WordPress offerings.
Step 1
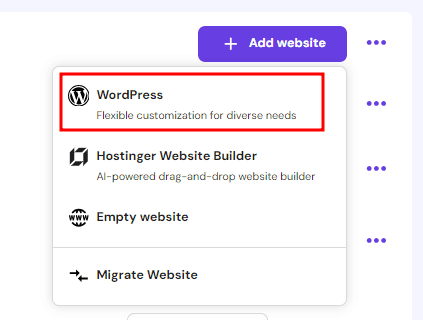
In the Websites section,click on the Add website button of the desired hosting plan and select WordPress:
Step 2
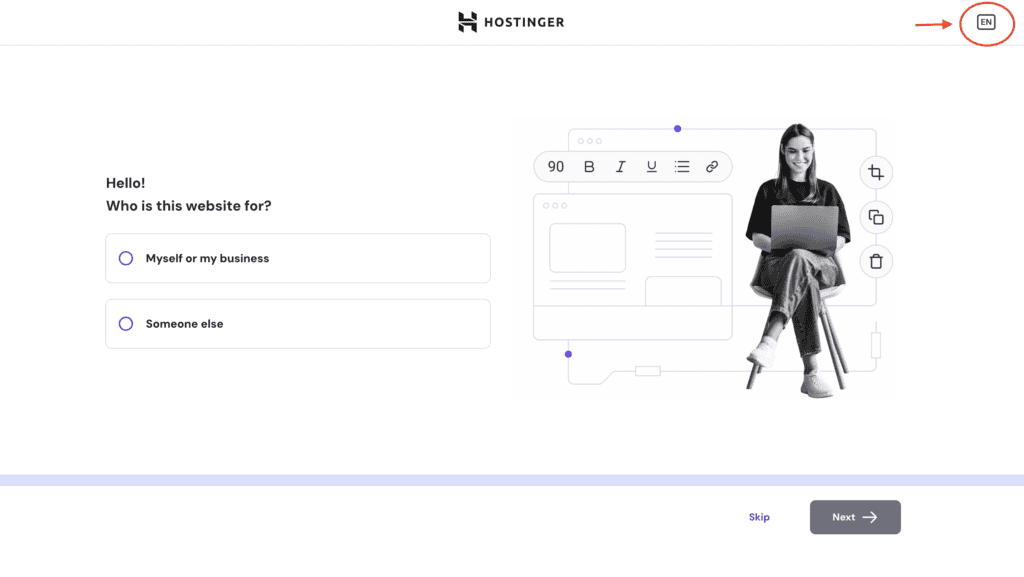
On the following screen, enter the following information:
- Preferred language (Top right corner)
- Website purpose details (optional) or hit “Skip”.
Step 3
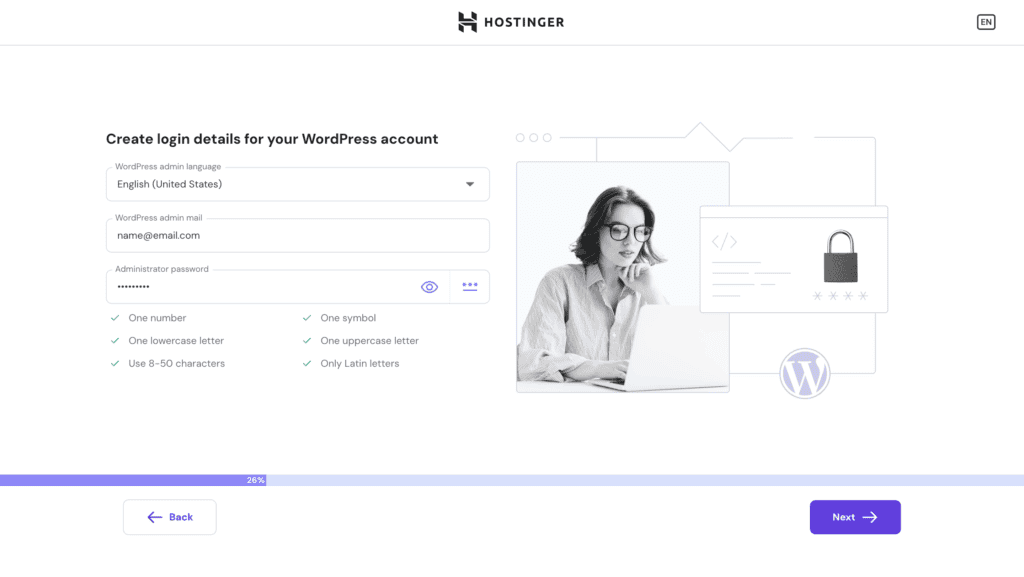
On the following screen, choose your WordPress Administrator email & password:
Step 4
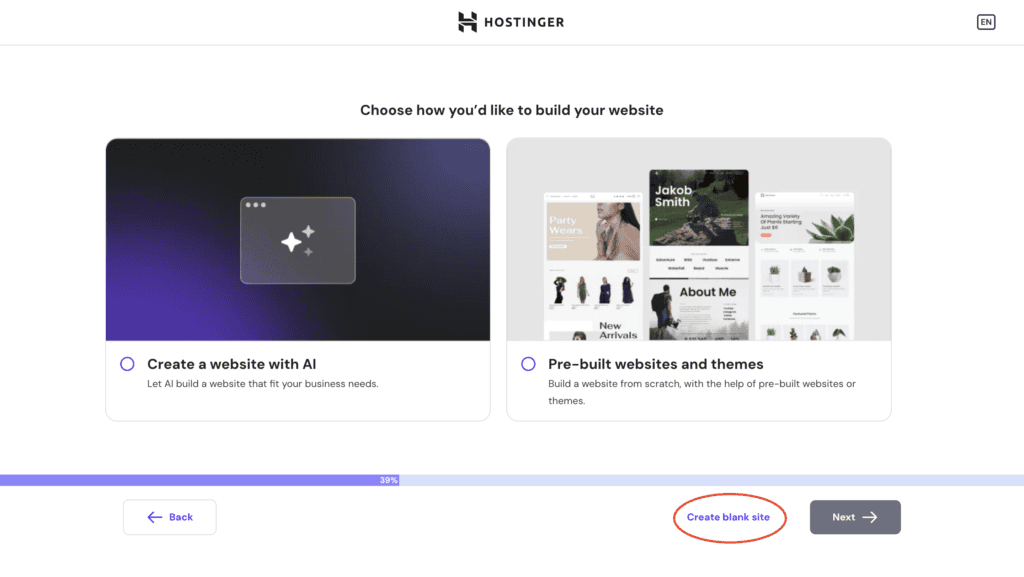
On the following screen, choose “Create a blank site”:
🧠 Creating a blank site & then building on it later, as will be instructed in next steps, will help you gain full control over your website & delivering the maximum optimization & speed.
Step 5
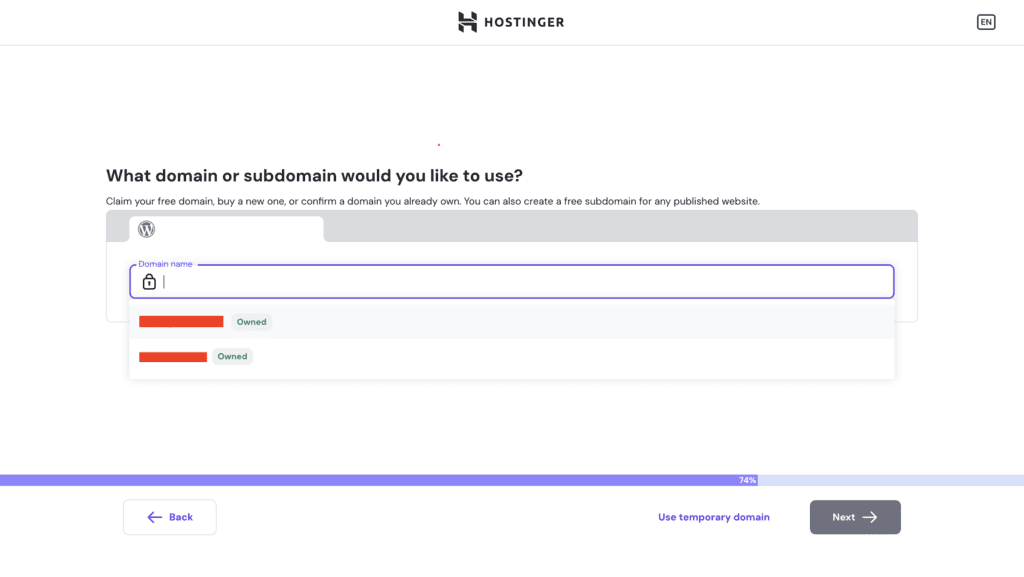
On the above screen, connect your domain using the instructions given by Hostinger. The explanation to the “Records” is –
Changing Nameservers of your domain – Gives you full control of your domain from your Hostinger dashboard.
(DO NOT do this if you have other services such as e-Mail connected to your domain, you might lose the ability to send/receive emails, instead select the option to connect with A Records instead as shows in below screen)
Changing A Records of your domain – This only gives website hosting rights to Hostinger & allows you to keep managing your domain through your hosting provider’s dashboard.
Step 6
Once installation is complete, you will be able to manage your WordPress by going to the Websites section and clicking on Admin Panel:

🚀 That’s it! You’re good to go the next step!
Select the preferred language for your WordPress admin panel
Specify the administrator email address